Bread Baking for Beginners: The Science of Sourdough Variables (and Why Recipes Fail)
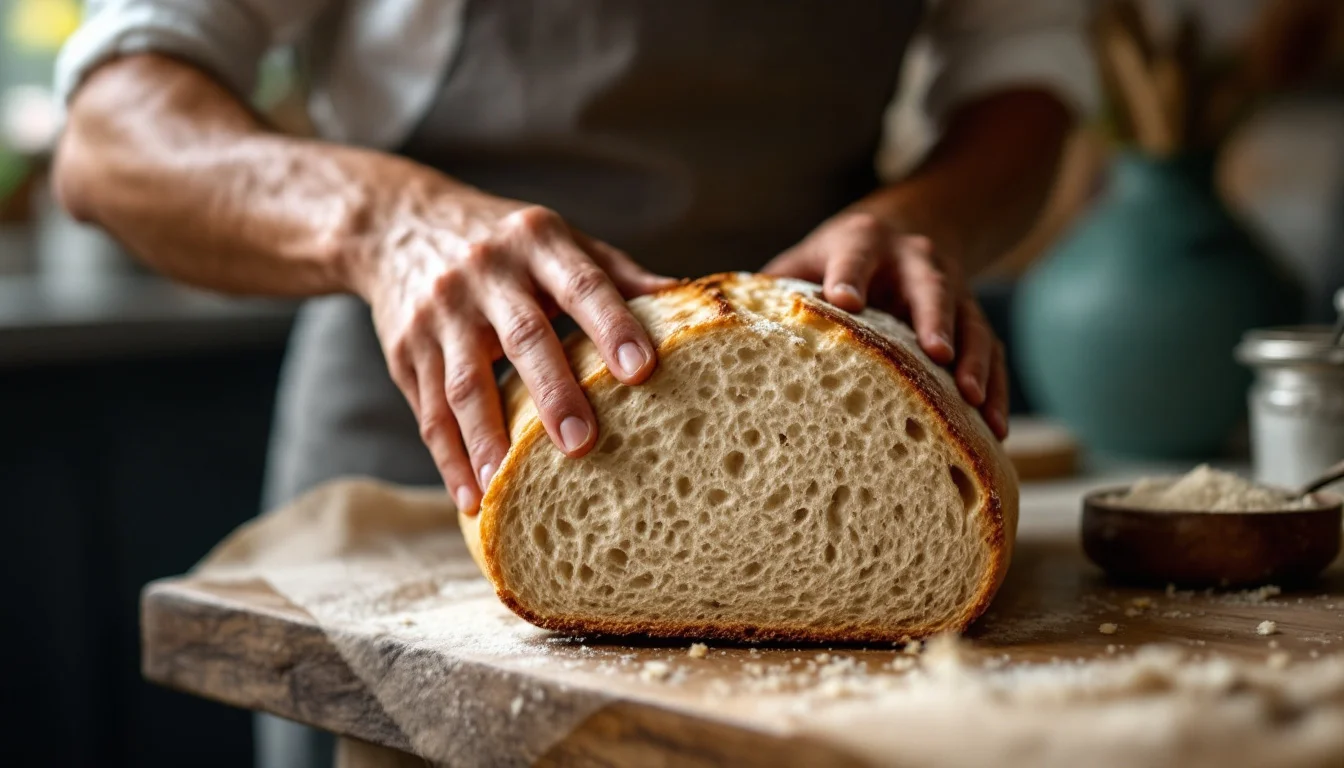
For many beginners, baking a first loaf of sourdough ends in a frustratingly dense, flat disc despite following instructions to the letter. This common failure stems from a fundamental misunderstanding of the craft: sourdough relies on biological fermentation for leavening, but it also requires mechanical dough handling, such as stretch-and-folds, to develop gluten strength. Expecting a universal set of instructions to work in every kitchen ignores the environmental realities of wild fermentation.
Traditional baking resources often fail because they prescribe rigid timelines and precise measurements that cannot account for local conditions. According to the instructional guide The Sourdough Framework (the-sourdough-framework.com), a successful baker must pivot away from standard recipe books. Instead, the framework explains that mastery requires understanding core variables—specifically flour, hydration, temperature, starter activity, fermentation, and dough strength.
By learning how to read the dough rather than simply reading a page, beginners can adapt any set of instructions to their own kitchen. Recognizing that bread baking is an exercise in variable management empowers home bakers to diagnose their environment, adjust their techniques, and consistently produce a well-risen loaf.
Key Takeaways
- Hydration control: Trevor Farias's beginner recipe starts at 70 percent hydration, which he recommends as the balance point between an open crumb and workable dough.
- Visual fermentation cues: Dough volume should dictate the process, with a target volume increase of 50 to 75 percent overriding any suggested clock time.
- Thermal management: Trapping steam in a preheated Dutch oven is critical for oven spring, while residual heat continues the setting process during cooling.
- Starter readiness: Assessing visual cues of expansion and peak activity is a more reliable way to verify the culture is active than relying on outdated float tests.
The Variable-First Approach: Why Do Sourdough Recipes Contradict Each Other?
Attempting to find the single perfect set of baking instructions is a futile exercise for beginners, though for those with absolutely no reference point, there is a benefit to starting with a single calibrated recipe to understand basic mechanics before learning to read the dough. Because every kitchen features a different ambient temperature, humidity level, and microbial environment, baking guides frequently contradict each other on crucial parameters. This divergence is not because one method is wrong, but because each author has calibrated their instructions to their specific environment.
When cross-referencing popular beginner guides, the disparities in recommended timelines and temperatures become immediately apparent.
| Baking Resource | Source Type | Suggested Hydration | Bulk Fermentation Window | Oven Temperature |
|---|---|---|---|---|
| Trevor Farias | Recipe Blog (trevorfarias.com) | 70% | Visually guided | 450°F (232°C) |
| Living Dough | Beginner Guide (livingdough.com) | Variable | 4 to 6 hours | 500°F (260°C) |
| RecipeKind | Recipe Guide (recipekind.com) | Variable | 7 to 10 hours | 450°F (232°C) |
Rather than navigating these conflicting numbers blindly, beginners should establish a controlled baseline. Trevor Farias’s beginner sourdough recipe utilizes a 70 percent hydration level, which he identifies as the sweet spot for those new to the process. This specific ratio ensures the dough is wet enough to develop a desirable open crumb, yet dry enough to be shaped easily without sticking uncontrollably to the work surface.
By locking in the hydration variable at 70 percent, a baker eliminates one layer of unpredictability. With the water-to-flour ratio stabilized, the focus can shift entirely to managing the biological timeline and the physical strength of the dough. This approach aligns with a broader shift in modern baking, exemplified by Hendrik Kleinwächter, the baker and software engineer behind The Bread Code, who treats the kitchen like a laboratory and advocates for an experiment-driven approach rather than rigid cookbooks.
The Fermentation Trap: Why Is Your Clock Lying to You?
Unlike commercial baking yeast, which operates with engineered predictability, sourdough rises through a complex microbial ecosystem. According to Living Dough, the leavening power comes from a living, fermented culture of yeasts and lactic acid bacteria found in the starter. This culture not only leavens the dough but also generates the signature tangy flavor associated with the bread.
Because this is a living culture, its metabolic rate is entirely dependent on its environment. Fermentation speed tracks kitchen temperature directly: warmer kitchens drastically speed up the biological activity, while cooler kitchens slow it down. This simple thermodynamic reality explains why following a recipe's exact fermentation time usually leads to failure.
The Temperature-Time Axis
The conflict between popular recipes perfectly illustrates this temperature-time axis. Living Dough’s beginner guide breaks the process into a 30 to 60-minute autolyse, adding the starter and salt, and then a bulk fermentation lasting just 4 to 6 hours before baking. Conversely, RecipeKind’s bulk fermentation runs for 7 to 10 hours at room temperature. A baker following Living Dough’s timeline in a cold winter kitchen will end up with severely under-proofed bread, just as following RecipeKind’s timeline in the summer heat will result in an over-proofed disaster.
To navigate this, bakers must ignore the clock and monitor the physical expansion of the dough. A long, slow bulk fermentation is what develops sourdough's distinctive flavor, but the dough should only grow 50 to 75 percent in volume according to RecipeKind.
RecipeKind emphasizes this specific 50 to 75 percent volume target because pushing the fermentation further compromises the structural integrity. Once the dough exceeds this threshold, it becomes over-proofed, meaning the gluten network degrades and the dough becomes exceptionally hard to shape into a tight loaf.
Engineering the Crumb: How Do Gluten and Steam Affect Your Bake?
Developing a strong gluten network is essential for trapping the gases produced during fermentation. While traditional bread making relies on heavy, continuous kneading to align these proteins, high-hydration sourdough requires a different mechanical approach.
According to Trevor Farias, stretch-and-folds can replace kneading entirely. Executing just four sets of stretch-and-folds, spaced 30 minutes apart, builds all the structural strength the dough needs. This intermittent handling allows the gluten strands to relax between sessions, gradually organizing into an elastic web capable of supporting a tall loaf without the mess of traditional kneading.
The Thermodynamics of the Bake
Once the dough is shaped and fully proofed, the baking environment must be engineered to maximize expansion. Trevor Farias’s method calls for preheating a Dutch oven with its lid on the middle rack at 450°F (232°C) for 45 minutes. Placing the dough into this enclosed, highly heated space serves a specific physical purpose.
A preheated Dutch oven immediately traps the steam evaporating from the dough. This trapped steam is vital because it keeps the outer crust soft and pliable while the internal gases rapidly expand, a phenomenon known as oven spring.
If the crust were to dry and harden immediately in an open oven, the loaf would be locked into a small, dense shape. Once the bread has fully sprung up, the lid is removed, allowing the dry oven heat to finally crisp and caramelize the crust. While Living Dough's method preheats the oven to 500°F (260°C) to maximize this initial thermal shock, Farias’s 450°F recommendation offers beginners a safer margin against scorching.
Diagnosing Mistakes: How Do You Know When Your Starter Is Ready?
Even with an understanding of hydration and fermentation, early attempts at sourdough can yield unexpected results. By viewing these failures through a scientific lens, beginners can easily adjust their variables for the next bake.
The Float Test for Starter Viability
Baking with a culture that has not reached peak activity risks producing a flat loaf. While some guides historically suggested checking starter readiness by dropping a teaspoon of the culture into room-temperature water to see if it floats, the professional sourdough community widely considers this test unreliable. A starter might float simply because it is gassy but not yet at its peak, or it might sink while still being perfectly active depending on its hydration and density. Rather than relying on this outdated float test, bakers should prioritize visual cues of expansion and peak activity to determine if the culture is ready to leaven bread.
Resolving Dense Dough
A dense, brick-like sourdough loaf nearly always traces back to one of two errors: an underactive starter or a bulk rise that ended before the target volume increase. However, density can also be a measurement error. Weighing flour on a digital scale instead of measuring by cups prevents the baker from accidentally packing too much flour into the mix, which creates an excessively dry, dense dough that struggles to rise.
Preventing a Gummy Crumb
Beginners are often eager to slice into their fresh loaf immediately upon removing it from the Dutch oven. However, the internal structure of the bread is still setting. The loaf continues to firm up from residual heat as it sits on the cooling rack, allowing trapped moisture to redistribute and the crumb structure to fully set. Trevor Farias notes that slicing the bread too early interrupts this final stabilization process, which is the exact mechanism that produces a wet, gummy crumb. Allowing the bread to cool for at least one hour—ideally two—is a crucial step in the baking process.
FAQ: Adapting Sourdough to Your Kitchen
Can I substitute all-purpose flour for bread flour?
Yes, but the hydration variable must be adjusted. For an all-purpose flour version of a beginner recipe, Trevor Farias recommends reducing the water, typically by anywhere from 5 to 20 grams depending on the recipe and specific flour brand. This adjustment is necessary because all-purpose flour has a lower protein content than bread flour, causing it to absorb slightly less liquid. Maintaining the original water volume would result in overly sticky dough.
What is the best way to store a baked sourdough loaf?
Proper storage prevents the crust from softening prematurely and protects the crumb from drying out. For optimal sourdough storage, Trevor Farias advises placing the loaf cut-side down on a wooden cutting board, leaving it uncovered for up to 2 days. For longer ambient storage, placing the loaf in a paper bag or a dedicated bread box works well for up to 4 days. If the bread will not be consumed within that window, freezing it—either whole or sliced—wrapped tightly in plastic will preserve it for up to 3 months.
Conclusion: The Hacker’s Mindset to Bread Baking
Treating baking as an exact science based on someone else's environmental data is a reliable route to frustration. By adopting an open-source mindset, where variables are isolated, tested, and adjusted to fit the local ecosystem, anyone can decode the seemingly complex biological puzzle of wild yeast and consistently bake exceptional loaves.